|
Main window |

|

|

|
|
Main window |
|
|
|
|
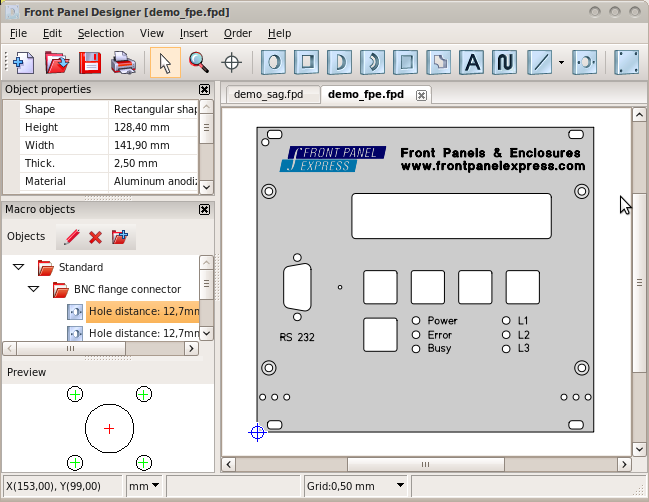
With you start the program, the main window opens with the workspace where front panel files can be created, opened and edited. In addition to the menu bar and toolbar, the properties of selected objects and the catalog of macro objects are displayed. |
In the pull-down menus in the menu bar all of the program commands are listed under thematic headings. They can be executed either by using the keyboard – with Alt + the respective underlined letter – as well as with the mouse – opening the pull-down menus and then selecting one of the items listed in it. In addition to the names of frequently used commands, there are also key combinations with which the respective commands can be executed directly from the keyboard without opening the pull-down menus.
|
The basic commands of the program can be executed directly by mouse click using the icons in the toolbar. The name of the command with which an icon is linked appears briefly as a "tool tip" when the mouse pointer is moved over the icon. Not only are standard commands such as print, open file, save file, etc. supported. The basic commands from different operating modes – insert, zoom, reference, select – can also be accessed with one mouse click.
To change the properties of objects the entries of the respective context menu and Select > … are available (see next point).
|
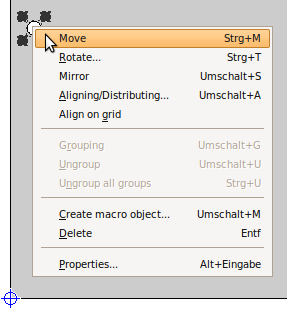
The "context menu" can be accessed for each object by moving the mouse pointer over the object and clicking the right mouse button. In the "context menu", all (or all of the main) actions are listed which are executable "in context" – that is in connection – with the selected object. Actions which are not executable in the current constellation are shown paler. In the picture below, the context menu for a drilled hole is visible. For the milling and engraving objects, their properties dialog box in particular as well as movement actions – move, rotate, mirror, and align/distribute – can be accessed through the context menu.
|
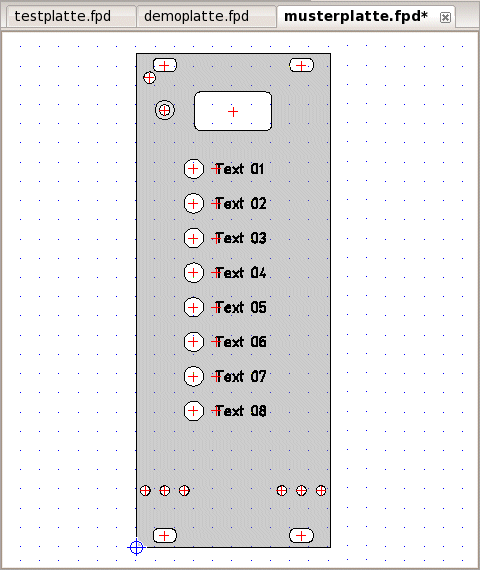
Every front panel is opened in its own workspace. Using the tabs at the top you can switch between the workspaces or between the front panels.
|
A table element is shown on the left of the screen which lists the properties of each selected object, including its position. This sidebar can be located on the left or the right of the workspace with drag and drop. All of the properties in this window can be amended, although without a simultaneous visual preview and without the option of accessing context-related help, as is possible in the properties dialog box. The table element can be switched on or off in View> Object Properties or by pressing Ctrl + o .
|
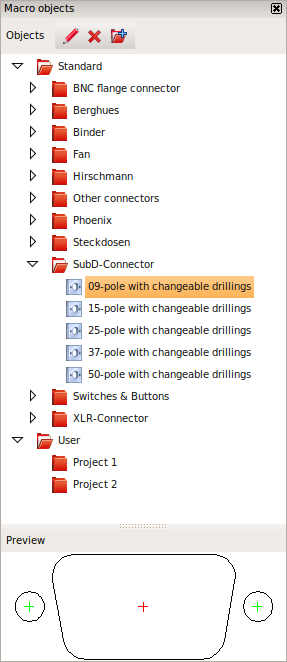
A catalog of macro objects can be opened on the edge of the screen. This sidebar can be located both on the left or the right of the workspace with drag and drop.
After installing "Front Panel Designer" the catalog contains a set of basic entries in the "Standard" category. Within the "User" category, the user can structure the macro objects catalog to match his needs and add macro objects to it, which he has created from grouped objects in a front panel.
Macro objects can be dragged from the tree view or preview image and dropped on the front panel currently being edited. |
Certain user actions are accompanied by design-specific information, which appear as a message list in a separate window. If you want to make a change in the material thickness during the design phase for example, object specific information may be displayed here, which you can use to make the necessary changes.
|
The status bar at the bottom of the screen consists of four areas for the display of information which are described here from the left to the right:
|
|
|